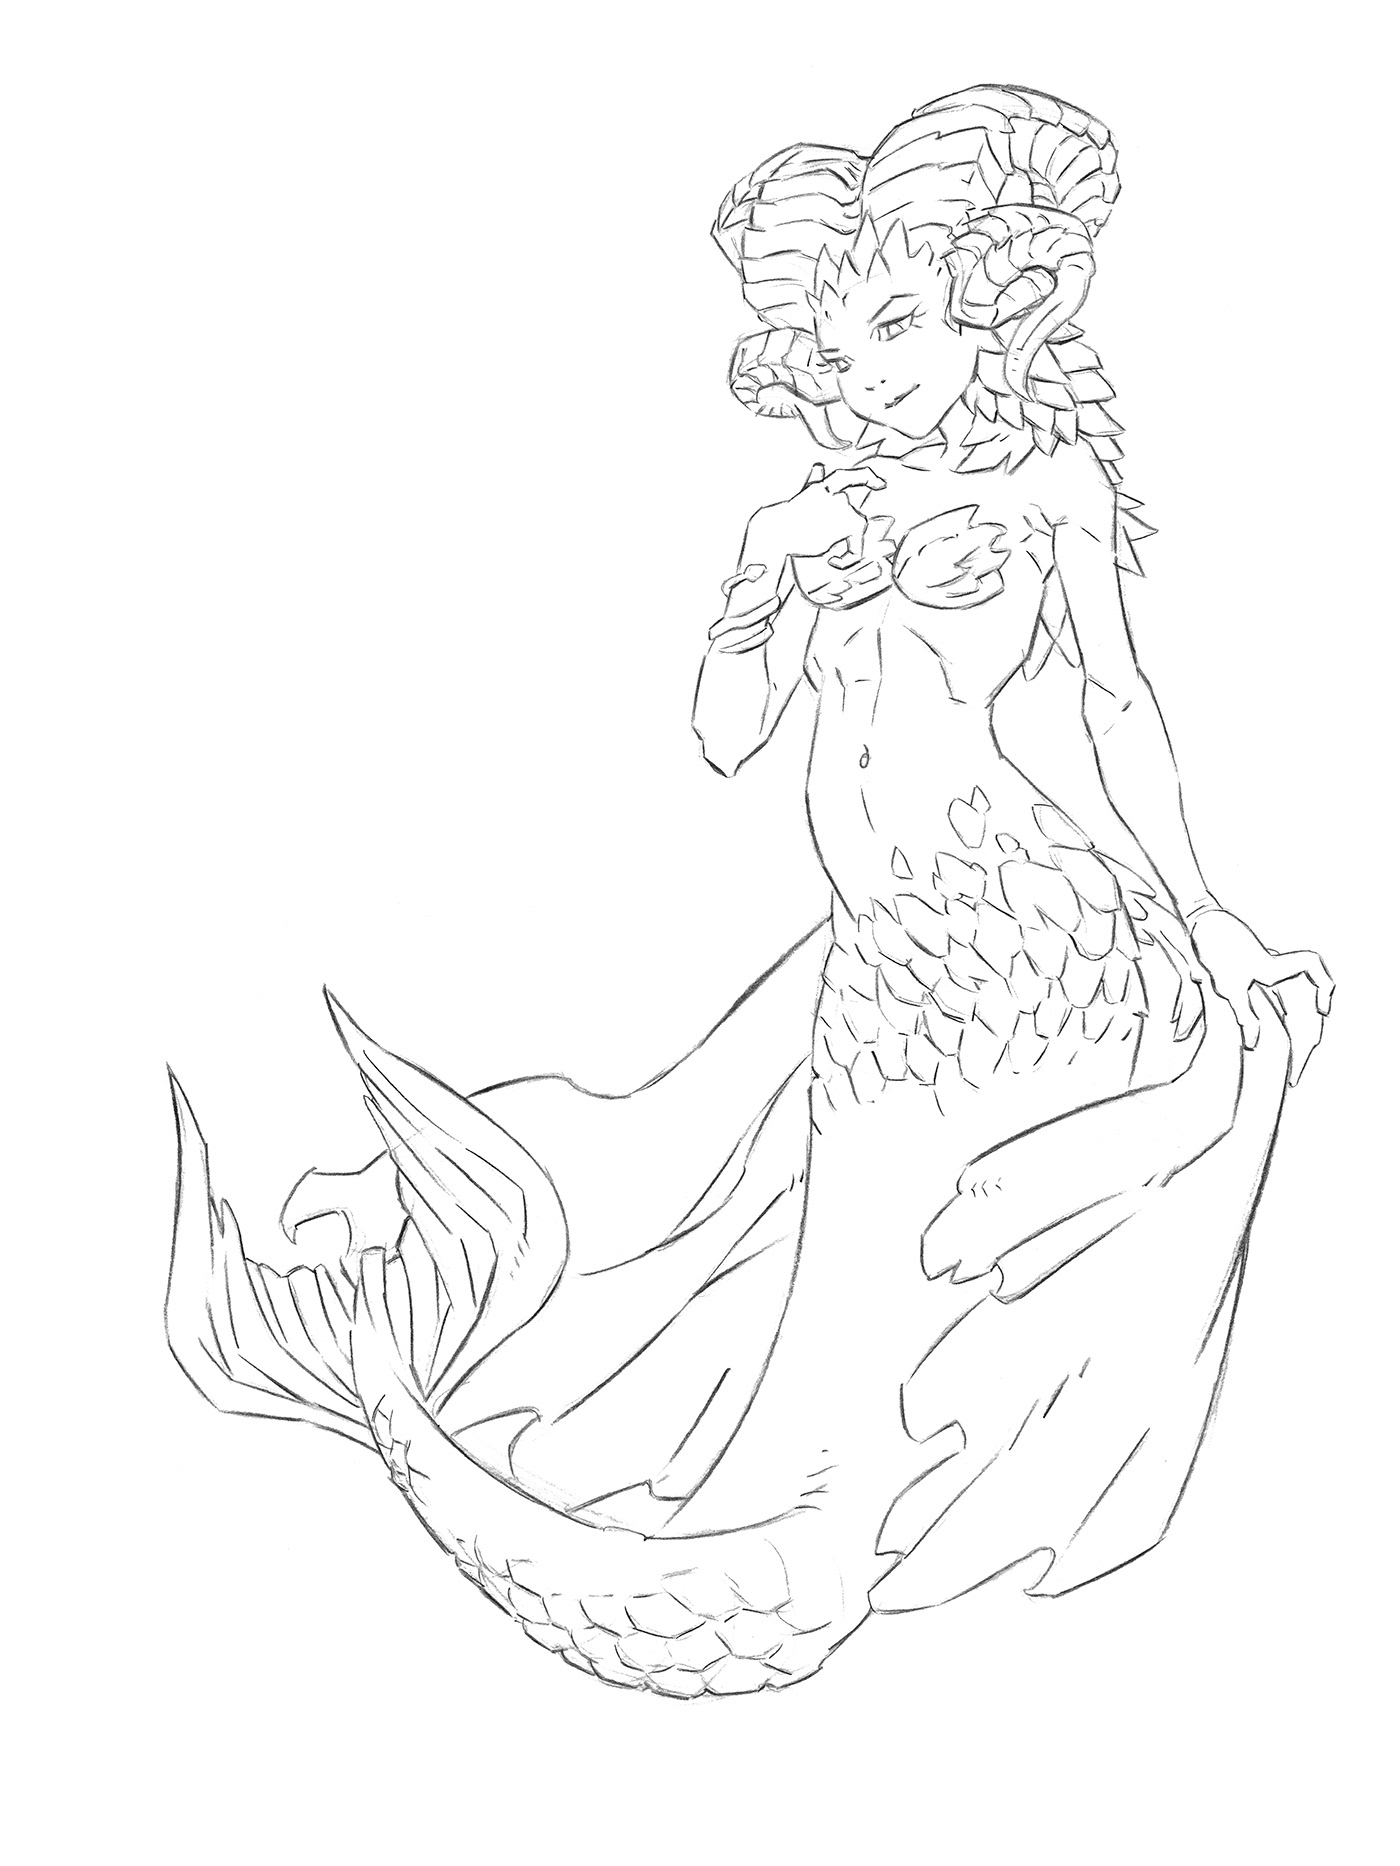
The firts thing I do is to sketch into cheap paper or anything recycled -from the back side of rough drawings to print tests- until I find something that more or less resembles the idea I have in mind. Once I have it I redo what's needed on a nice drawing paper working on shapes and lines until the finished piece is polished enough to ink OR print directly, as the one displayed above.
Sometimes that means drawing a whole new thing over your sketch while in cases the rough is close enough to what you want so only details and lines need further refinement.
Here you see me doing the final lineart with a Magenta Polychromos colored pencil over a blue drawing that's working well enough. Once finished I clean the pencil in PHOTOSHOP and print the resulting art over Bristol paper. Outcome i the first image above.
I'm finishing the illustration with Copic Markers over the printed lineart, there's no risk involved unless you're working over large masses of black in my experience. I'm partially using the feather blending technique that involves extending your color with strokes that leave more ink at the start than at the end of your brush stroke, creating a gradient that's easier to blend with the next.
Also, previously I did a small color test on PS, just to be sure.
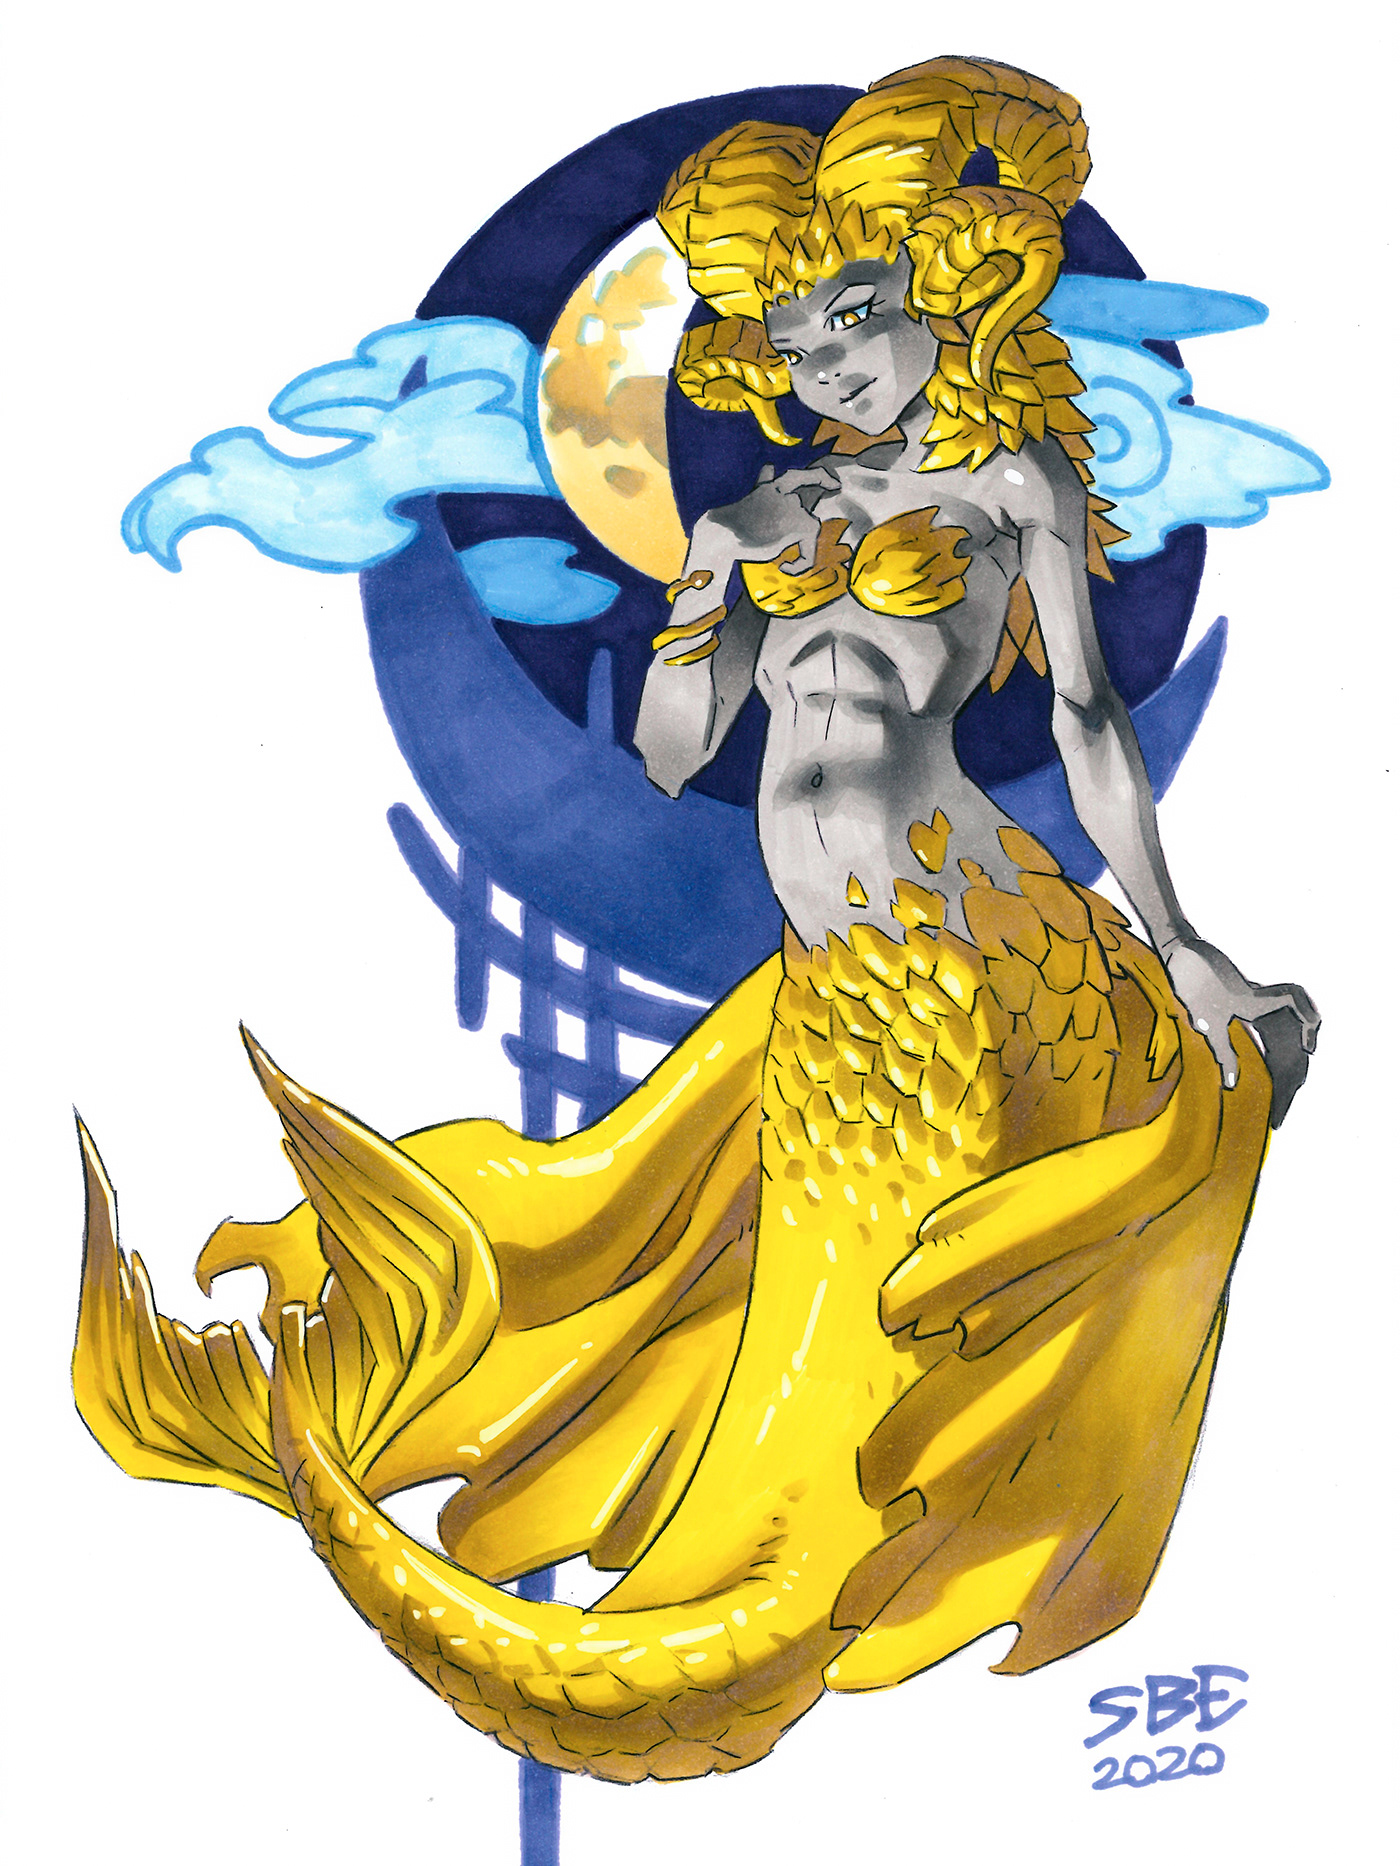
In the end I add some highlights with white gel pen and ink with fineliners over some important details like the eyes for example, until I feel like everything haves enough line weight.
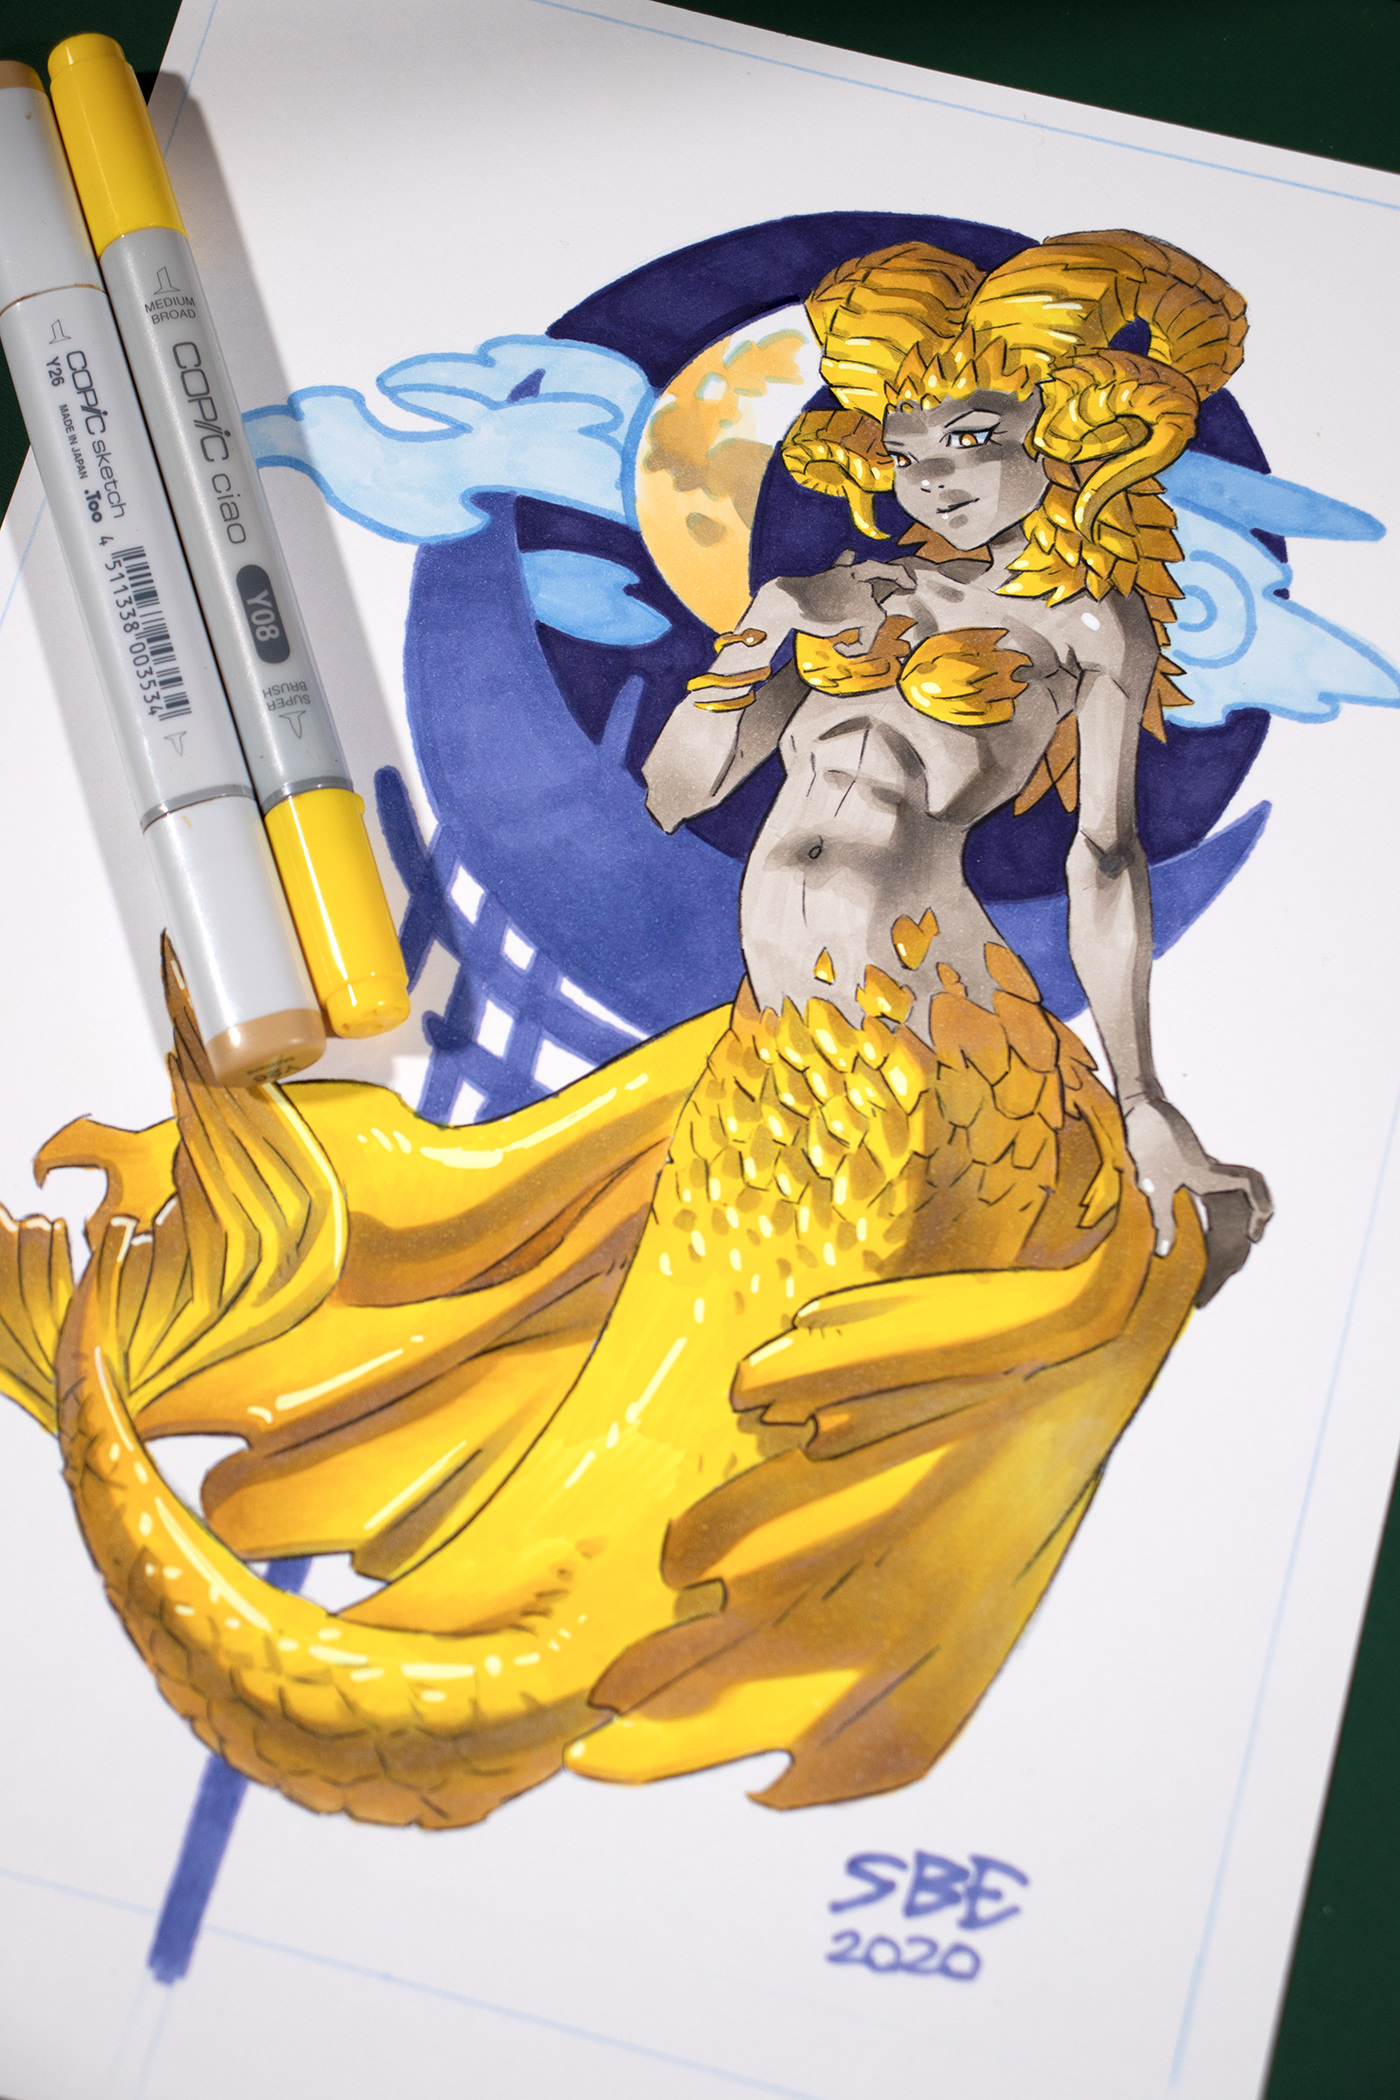
Lastly I like to take a "studio shot" for social media as well as a nice scan for websites or print.